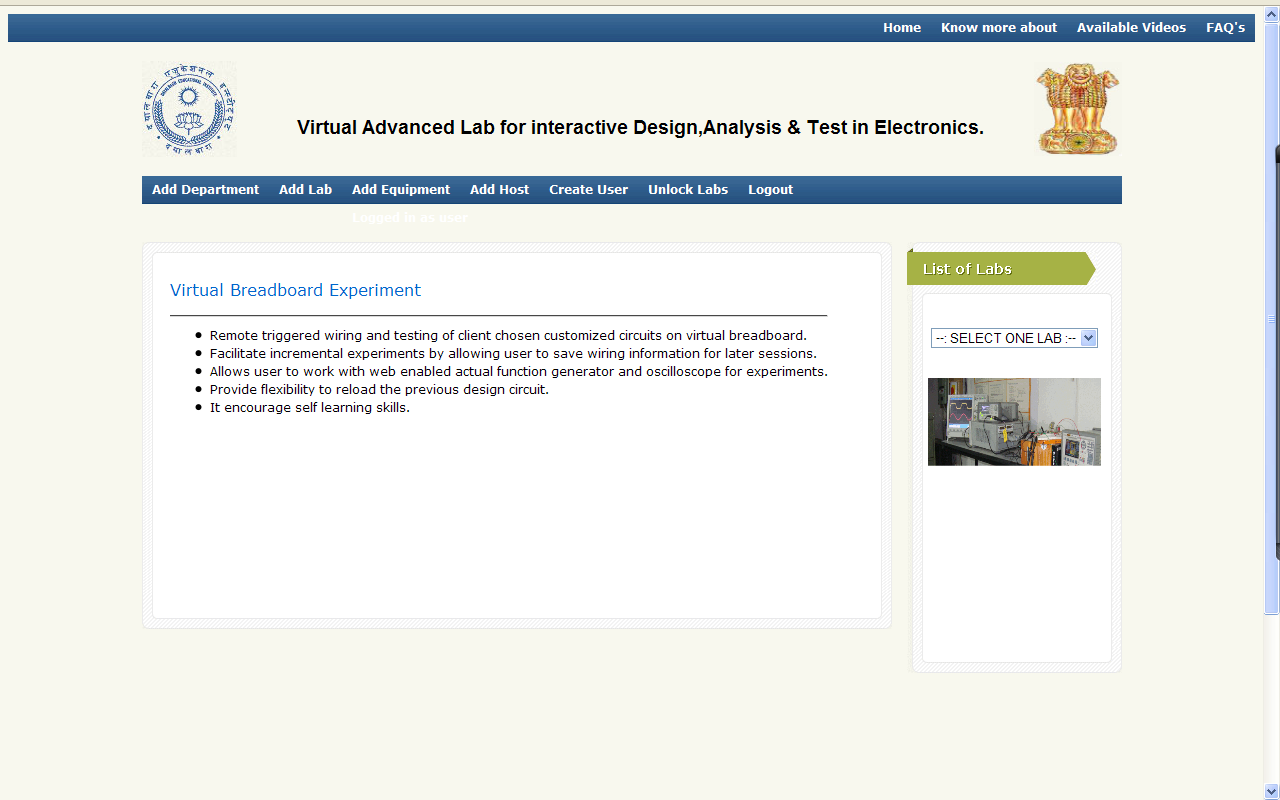
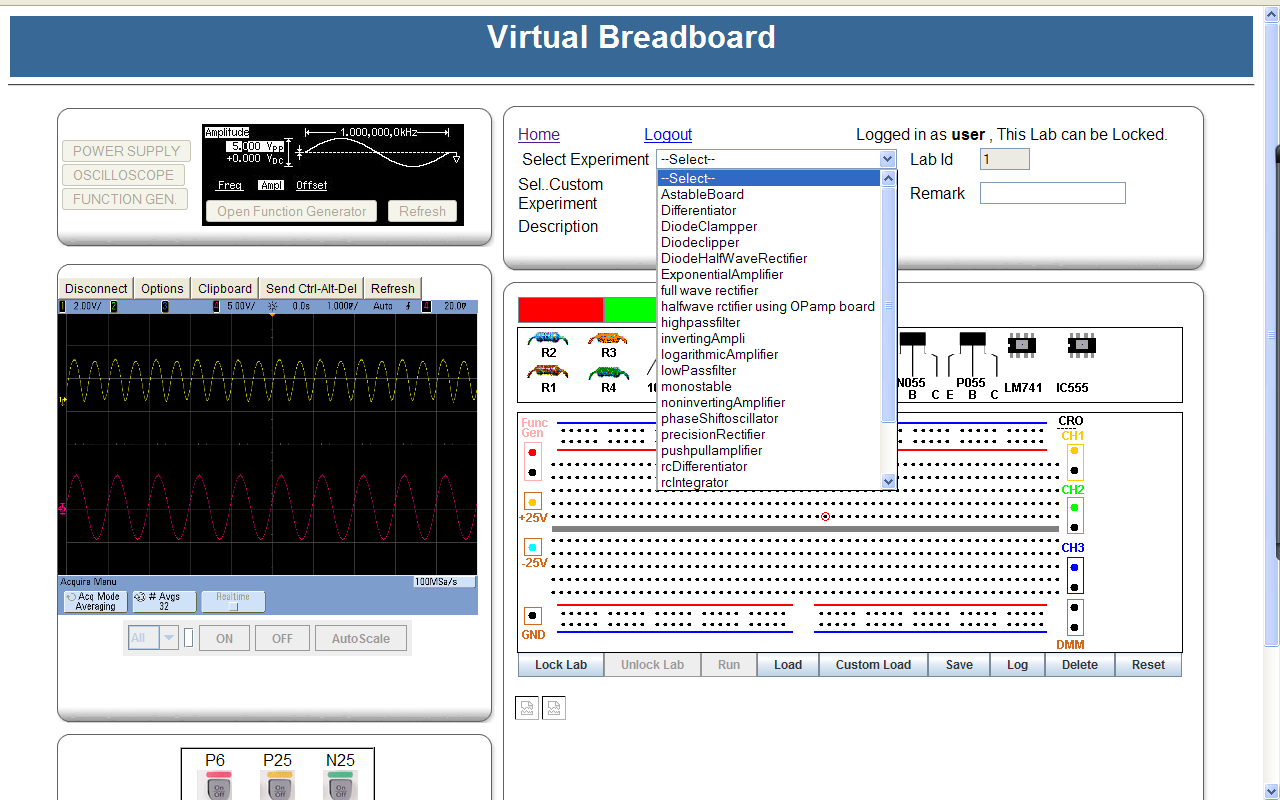
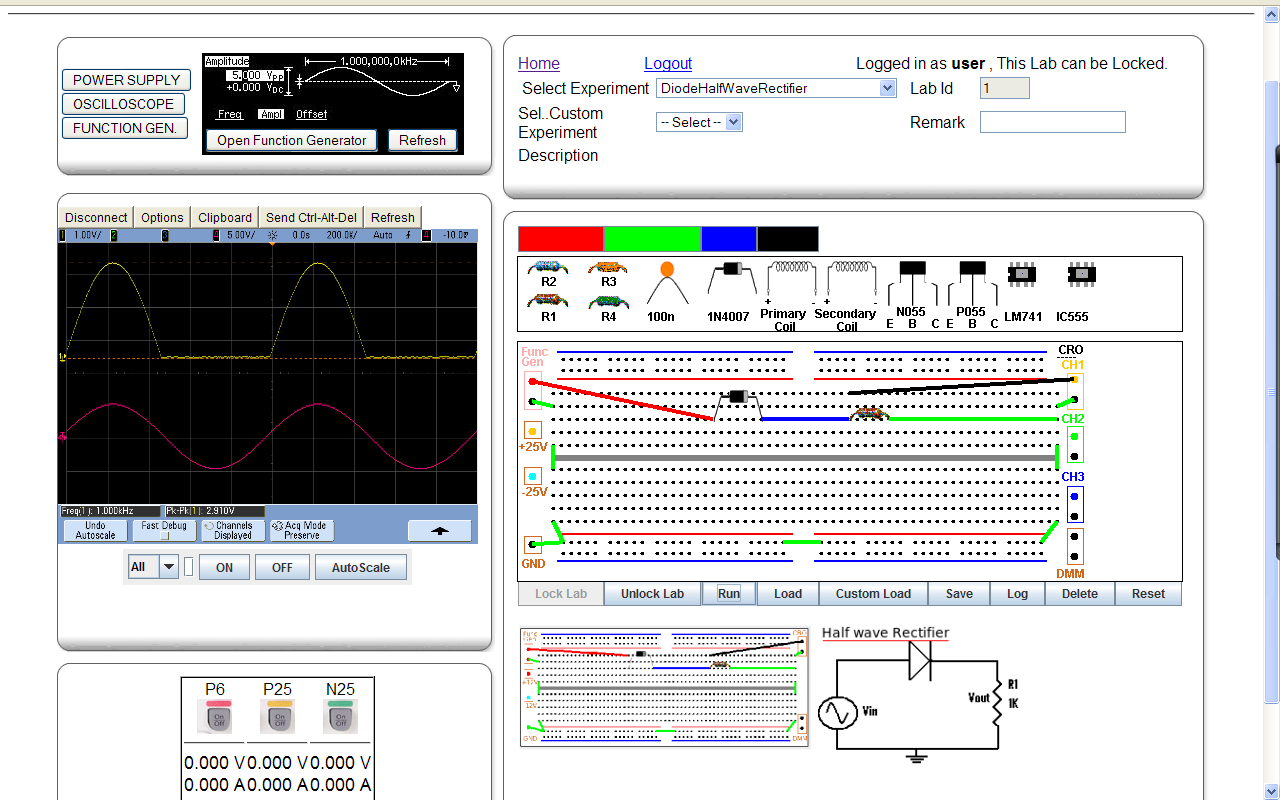
Step1: After Login you will get this page.
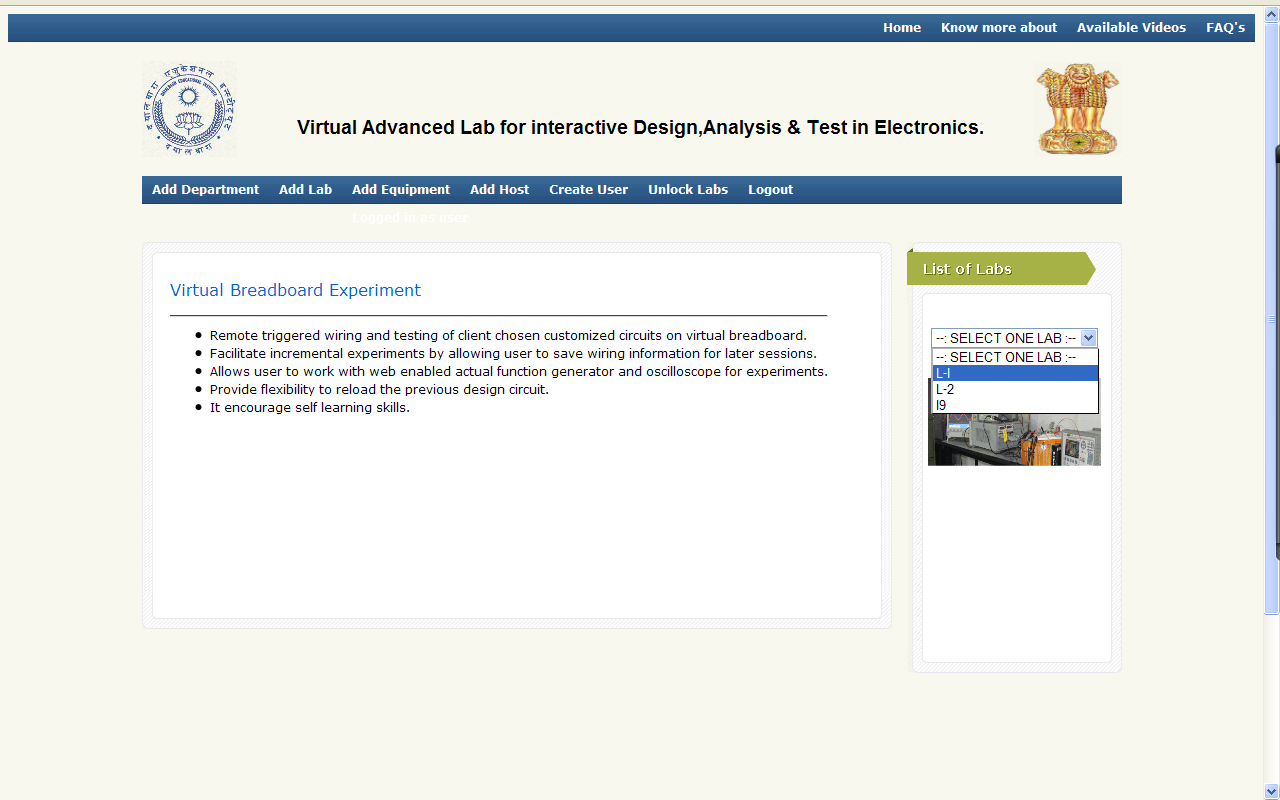
Step2: Select Lab 1.
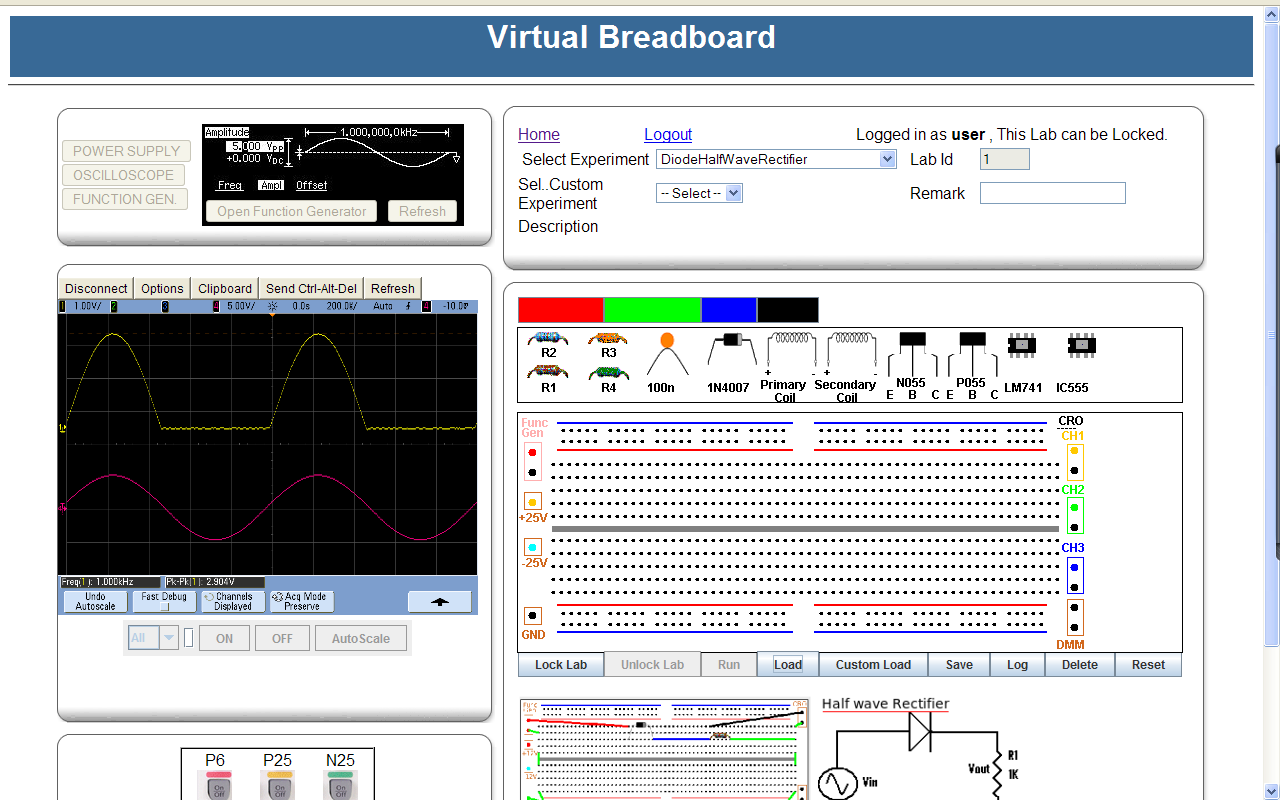
Step3: The prompt shows you the system is ready to be used and check if Lab can be Locked(Extreme Right Side on the Top of the Page).
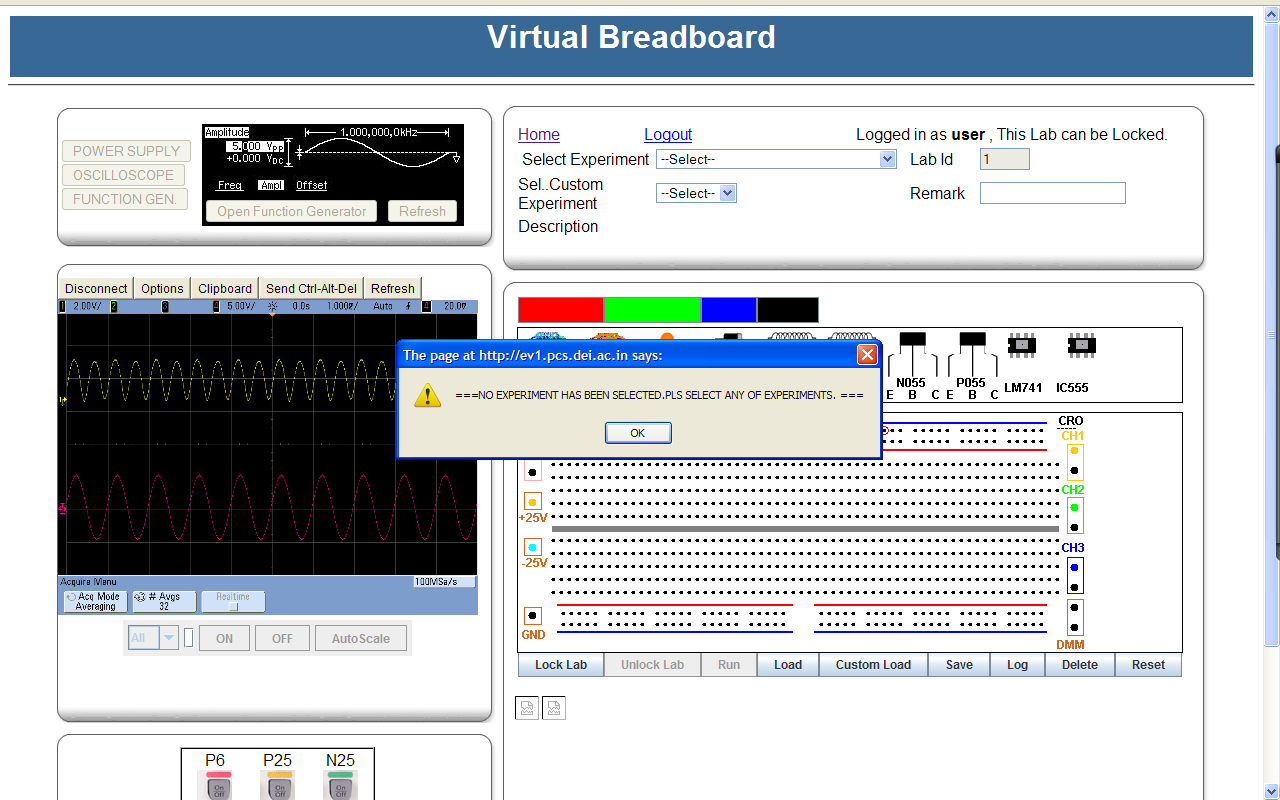
Step4: Select the Experiment from the experiment drop down list.
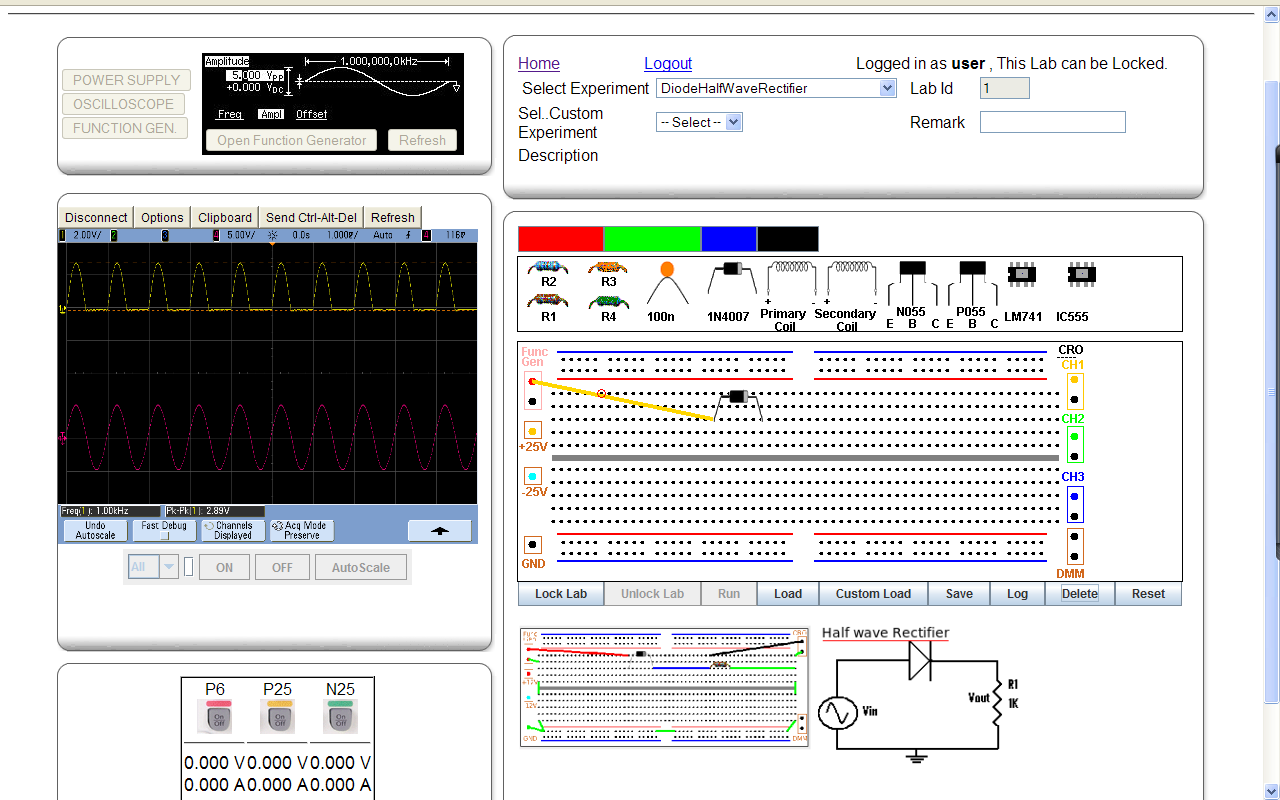
Step5: Draw the Experiment from the circuit given below the Breadboard.Drag the components from the list according to the requirment.

Step6: Place the Components according to the Requirment.

Step7: Select the color of the wire from the Color box and drag the wire from point to point using the left click of the mouse.

Step8: To delete the wire just click on the wire properly. Its color will change into yellow to confirm the selection.
Step9: Just Press Delete Button.
Step10: Replace the Wire Properly by following the Step7.
Step11: Place the other components properly and you can delete the other components by just clicking on the components.

Step12: After selecting the component carefully press Delete Button.
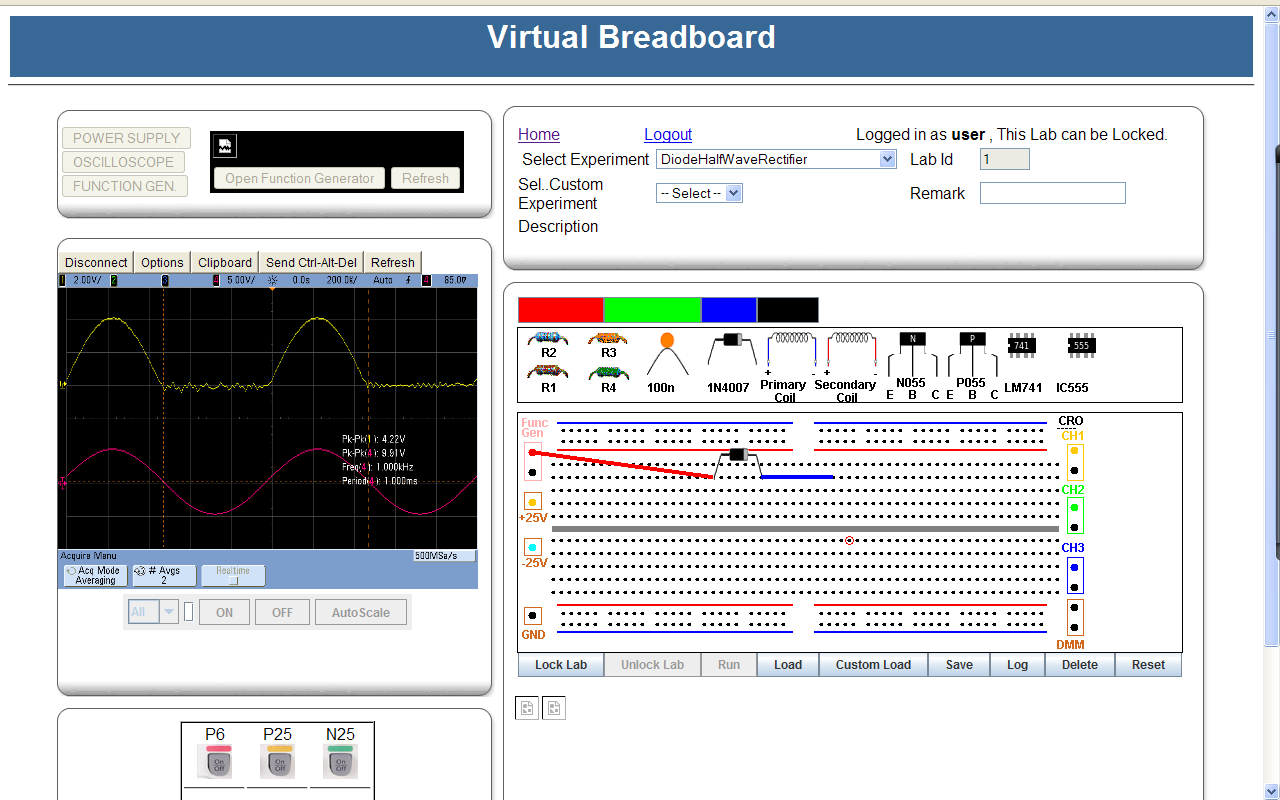
Step13: Rearrange the components properly and wire it up.

Step14: Lock the Lab to obtain the full access and control for the equipments
(A prompt will confirm the Locking).
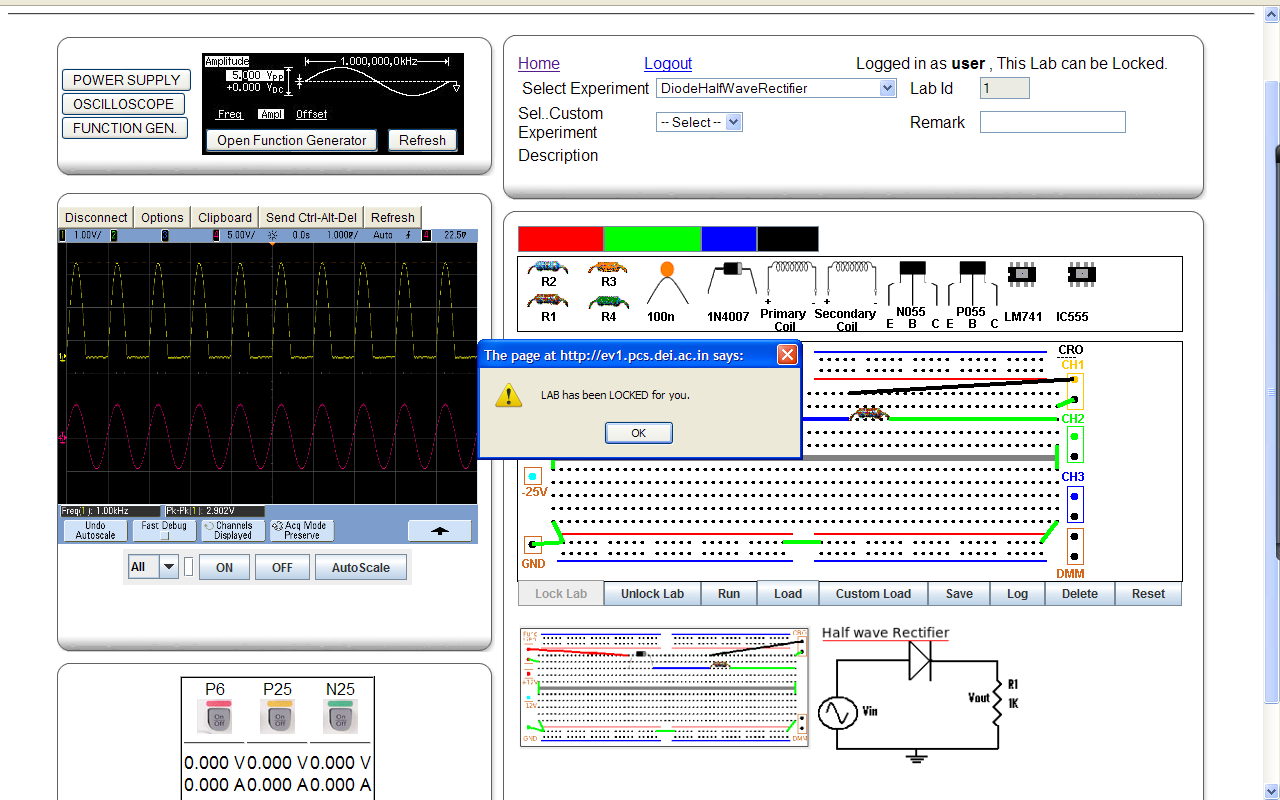
Step15: Pree Run Button to Run the experiment.
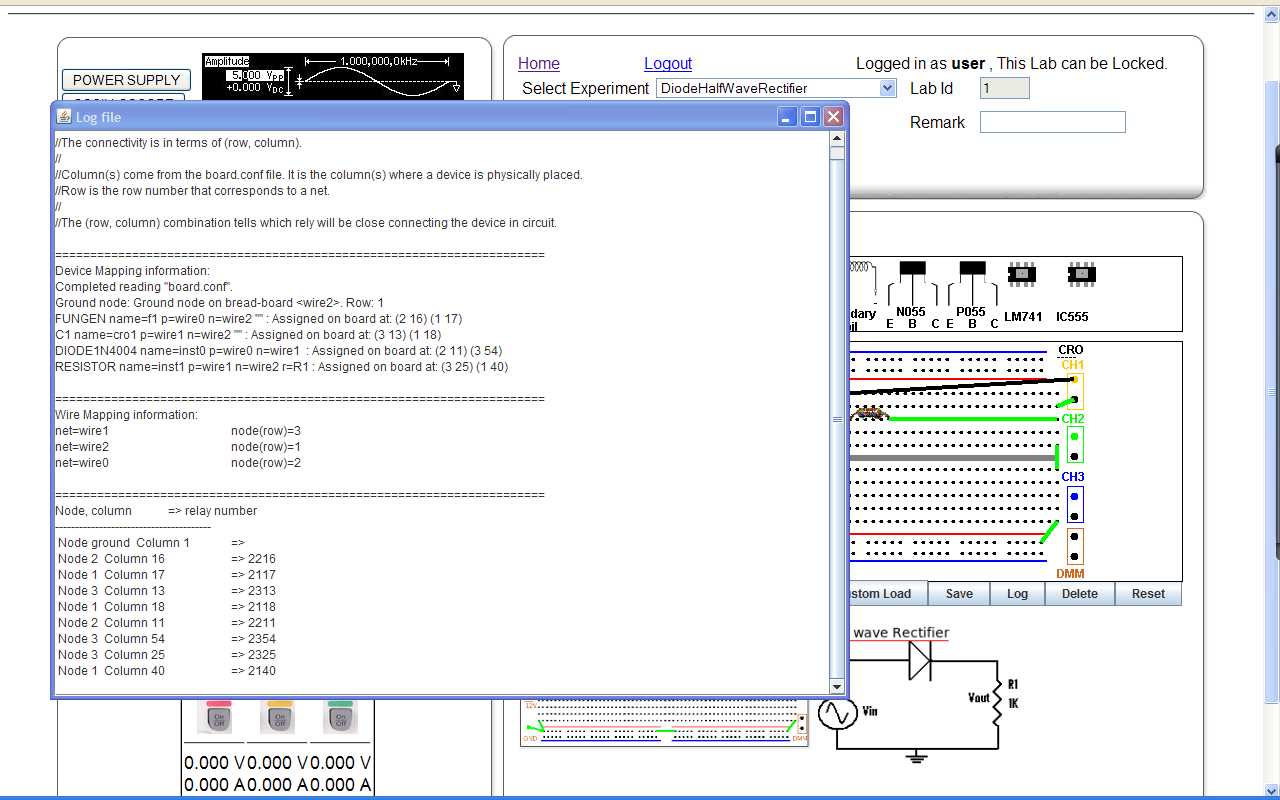
Step16: Pree Log button to ckeck the Log file. It will show error if any and it will show all the components and connection used to perform this experiment.
Step17: Press the Unlock Button to unlock Lab.

Step18: Press Reset Button to Clear the Breadboard.